
 Healthcare App Development Services
 Real Estate Web Development Services
 E-Commerce App Development Services
 E-Commerce Web Development Services
 Blockchain E-commerce Development Company
 Fintech App Development Services
 Fintech Web Development
 Blockchain Fintech Development Company
 E-Learning App Development Services
 Restaurant App Development Company
 Mobile Game Development Company
 Travel App Development Company
 Automotive Web Design
 AI Traffic Management System
 AI Inventory Management Software
 AI Development Company
  ChatGPT integration services
  AI Integration Services
  Generative AI Development Services
  Natural Language Processing Company
 Machine Learning Development
  Machine learning consulting services
  Blockchain Development
  Blockchain Software Development
  Smart Contract Development Company
  NFT Marketplace Development Services
  Asset Tokenization Company
 DeFi Wallet Development Company
 Mobile App Development
  IOS App Development
  Android App Development
  Cross-Platform App Development
  Augmented Reality (AR) App Development
  Virtual Reality (VR) App Development
  Web App Development
  SaaS App Development
 Flutter
  React Native
  Swift (IOS)
  Kotlin (Android)
  Mean Stack Development
  AngularJS Development
  MongoDB Development
  Nodejs Development
  Database Development
 Ruby on Rails Development
 Expressjs Development
  Full Stack Development
  Web Development Services
  Laravel Development
  LAMP Development
  Custom PHP Development
  .Net Development
  User Experience Design Services
  User Interface Design Services
  Automated Testing
  Manual Testing
  Digital Marketing Services
 Ride-Sharing And Taxi Services
 Food Delivery Services
 Grocery Delivery Services
 Transportation And Logistics
 Car Wash App
 Home Services App
 ERP Development Services
 CMS Development Services
 LMS Development
 CRM Development
 DevOps Development Services
 AI Business Solutions
 AI Cloud Solutions
 AI Chatbot Development
 API Development
 Blockchain Product Development
 Cryptocurrency Wallet Development
 About Talentelgia
  Our Team
  Our Culture
 Healthcare App Development Services
 Real Estate Web Development Services
 E-Commerce App Development Services
 E-Commerce Web Development Services
 Blockchain E-commerce
Development Company
Blockchain E-commerce
Development Company Fintech App Development Services
 Finance Web Development
 Blockchain Fintech
Development Company
Blockchain Fintech
Development Company E-Learning App Development Services
 Restaurant App Development Company
 Mobile Game Development Company
 Travel App Development Company
 Automotive Web Design
 AI Traffic Management System
 AI Inventory Management Software
 AI Development Company
 ChatGPT integration services
 AI Integration Services
 Machine Learning Development
 Machine learning consulting services
 Blockchain Development
 Blockchain Software Development
 Smart contract development company
 NFT marketplace development services
 IOS App Development
 Android App Development
 Cross-Platform App Development
 Augmented Reality (AR) App
Development
Augmented Reality (AR) App
Development Virtual Reality (VR) App Development
 Web App Development
 Flutter
 React
Native
React
Native Swift
(IOS)
Swift
(IOS) Kotlin (Android)
 MEAN Stack Development
 AngularJS Development
 MongoDB Development
 Nodejs Development
 Database development services
 Ruby on Rails Development services
 Expressjs Development
 Full Stack Development
 Web Development Services
 Laravel Development
 LAMP
Development
LAMP
Development Custom PHP Development
 User Experience Design Services
 User Interface Design Services
 Automated Testing
 Manual
Testing
Manual
Testing About Talentelgia
 Our Team
 Our Culture
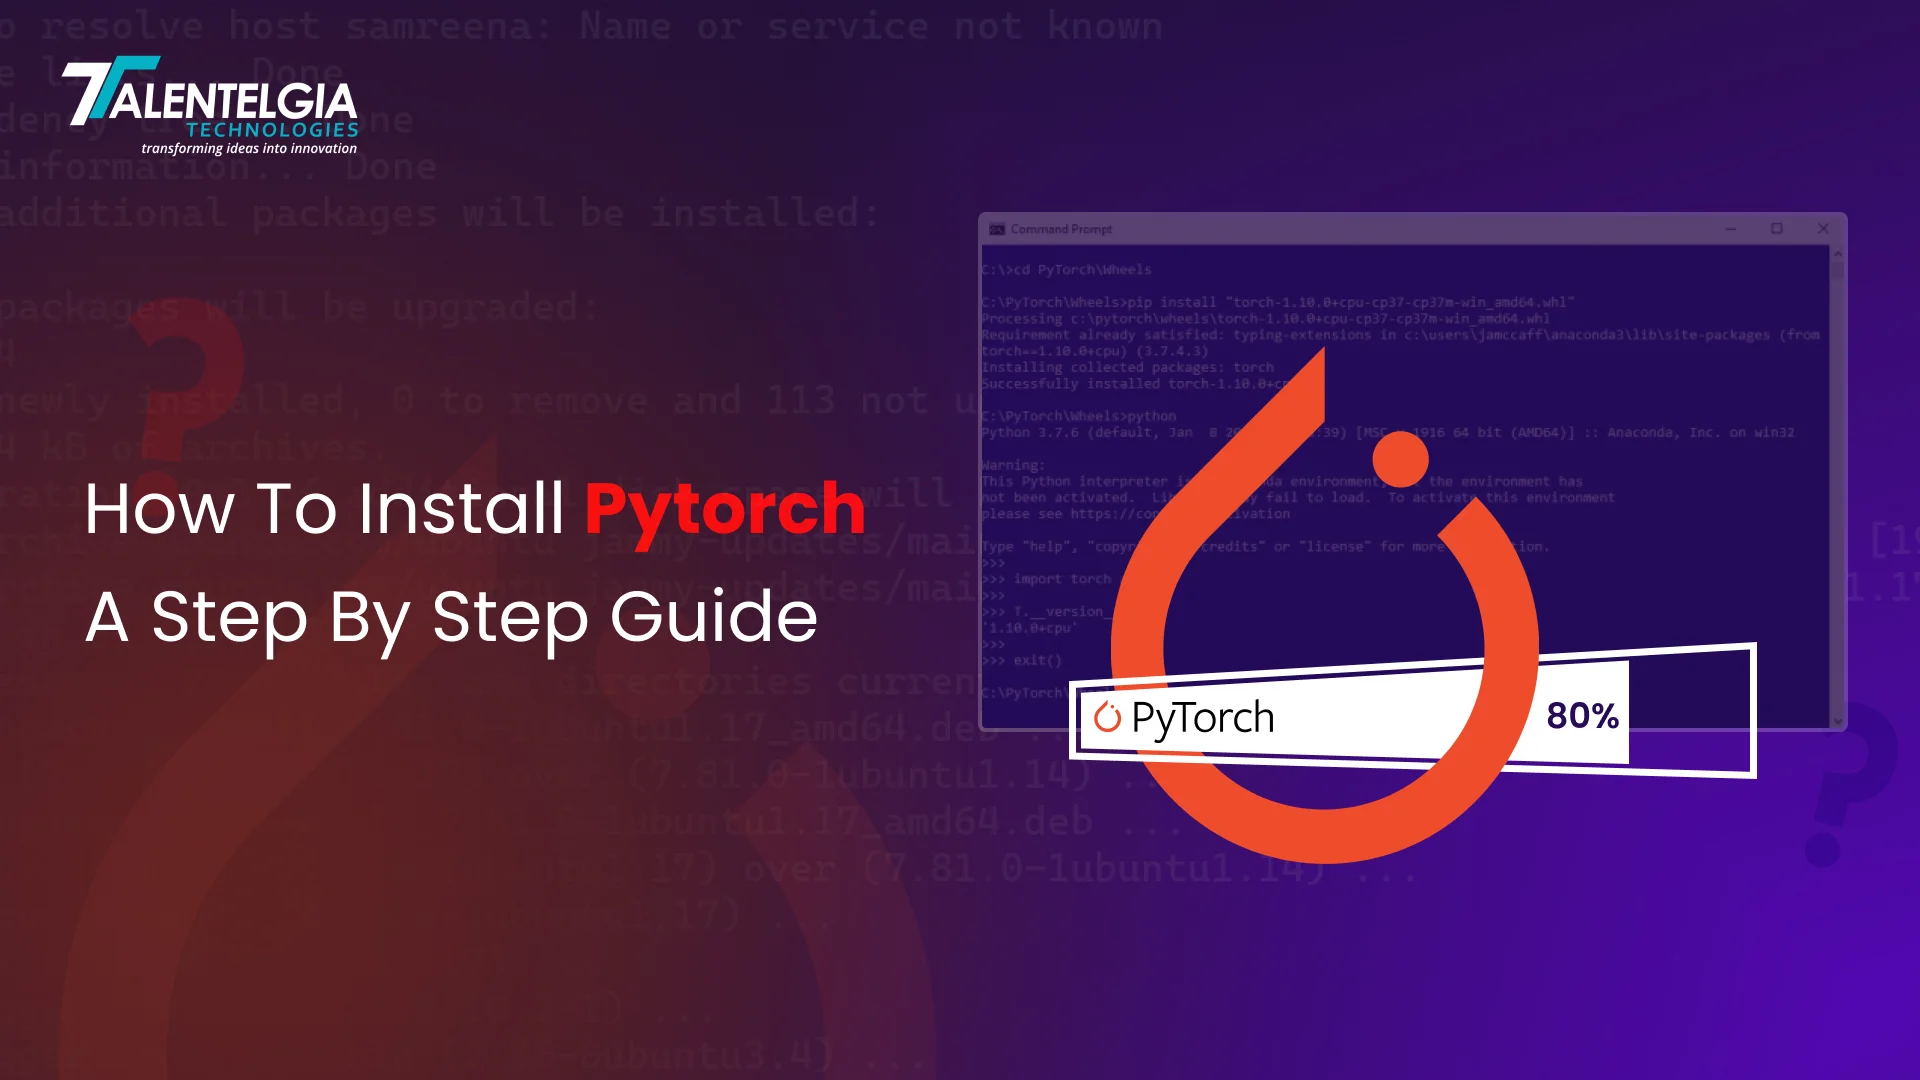
PyTorch is an open-source deep learning framework widely adopted by researchers, Data Scientists, and AI developers for creating and training machine learning models. It is preferred over other frameworks as it offers flexibility, dynamic computation graphs and is easy to use. But before jumping into deep learning projects, the first task is to install PyTorch properly.
For a new user, setting up PyTorch may appear to pose challenges, but a little training for users does wonders in making this setup a breeze. In this guide, we will cover every step of the installation so you can have everything set up correctly and get started with PyTorch without any problems. Let’s get started.
What Is PyTorch?
PyTorch is an open-source deep learning framework that combines the Torch machine learning library with a high-level API written in Python. Initially created by Facebook AI Research (now known as Meta) and later governed by the PyTorch Foundation, it is one of the dominant tools for designing and training neural networks. PyTorch is widely used in research and AI applications as it supports a variety of architectures, including linear regression and deep learning, CNNs, and transformer architectures.
Flexibility and ease of use are one of the main strengths of PyTorch. This includes dynamic computation graphs that enable developers to change and test different parts of their code in real time without needing to wait for the complete execution. As such, PyTorch is incredibly useful for fast prototyping, debugging, and iterative research. Adding to this, its tight integration with Python, combined with a wide range of ready-to-use and pre-trained models, makes it a go-to framework for data scientists and AI researchers alike across the globe.
1. Installing PyTorch on Windows
To install PyTorch on a Windows operating system, follow the steps below.
Prerequisites
Before you install, make sure that you have the following requirements:
- Python: Python should be available on the system.
- Package Managers: You should have pip or conda installed for the installation process.
A. Installing PyTorch Using Pip
Step 1: Check if Python is installed
First, you have to make sure that Python is installed on your system. You can check it by running the following command in the command prompt:
python -VIf Python is installed, you will see an output similar to:
Output:
Python 3.10.2
Step 2: Verify Pip Installation
Next, check if pip, the Python package manager, is installed by running:
pip -VIf pip is installed, you will see an output like:
Pip 21.2.4If pip is not installed, you may need to install or update it before proceeding.
Step 3: Install PyTorch for CPU
To install PyTorch for CPU usage, run the following command:
pip3 install torch torchvision torchaudioOnce the installation is complete, PyTorch will be ready for use.
Step 4: Verify Installation
To confirm that PyTorch was installed successfully, check its version using:
pip3 show torchPro Tip: In case you want to uninstall PyTorch, you can use the following command:
pip uninstall torchB. Installing PyTorch Using Conda
In case you want to use the conda package manager, follow the instructions below to install PyTorch in a Windows environment.
Prerequisites
Check the next steps before the installation:
- Anaconda/Miniconda Installed: If you do not already have Conda installed, download and install Anaconda or Miniconda.
- Ensure Conda is Installed: Run the following command in Anaconda Command Prompt to make sure Conda is installed:
conda -VIf Conda is installed, you will see an output similar to:
conda 4.14.0Now that we have ensured that Conda is installed, let’s look at the step-by-step procedure to install PyTorch Using Conda:
Step 1: Install PyTorch for CPU
To install PyTorch for CPU-only usage, run:
conda install pytorch torchvision torchaudio cpuonly -c pytorchThis command will download and install the required PyTorch libraries.
Step 2: Verify Installation
conda list -f pytorchIf the installation was successful, you will see an output like:
# packages in environment at C:\Users\YourUsername\anaconda3:
# Name                      Version
pytorch                    1.12.1
C. Installing PyTorch with CUDA support
If you have a compatible NVIDIA GPU and CUDA available, you can install a version of PyTorch with GPU acceleration by just changing the installation command:
For CUDA 11.3:
conda install pytorch torchvision torchaudio cudatoolkit=11.3 -c pytorchFor CUDA 11.6:
conda install pytorch torchvision torchaudio cudatoolkit=11.6 -c pytorch -c conda-forgeThese commands install a version of PyTorch that is optimized for GPU computation, giving significant performance improvements for deep learning tasks.
After installation, you can check the installation using:
conda list -f pytorchYou have successfully installed PyTorch on your Windows system using Conda.
2. Installing PyTorch on macOS
Installing PyTorch on macOS requires very little configuration. PyTorch does not support CUDA natively under macOS, which means unless you install from source, it’ll fall back to using the CPU.
A. Installing PyTorch Using PIP
Prerequisites
Before installation, ensure:
- Python is installed: You can check the installed version using:
python3 --versionExample output:
Python 3.9.7pip (Python package manager) is installed: Check its version using:
pip3 --versionExample output:
pip 22.2.2Now that we have ensured that PIP is installed, let’s look at the step-by-step procedure to install PyTorch using PIP:
Step 1: Install PyTorch
To install PyTorch for CPU, run the following command:
pip3 install torch torchvision torchaudioThis will install PyTorch and its related libraries.
Step 2: Verify Installation
After installation, verify it using:
pip3 show torchExample output:
Name: torch
Version: 1.12.1 If you see the installed version, PyTorch is successfully installed.
Pro Tip: In case you want to uninstall PyTorch, simply run:
pip uninstall torchOnce completed, PyTorch will be removed from your system.
B. Installing PyTorch on macOS Using Conda
Another method for installing PyTorch on macOS is through the use of the Conda package manager. This approach is another option for those who are working inside of virtual environments that are maintained by Anaconda.
Step 1: Activate Anaconda Prompt
Before installing PyTorch, activate the Anaconda prompt (if it’s not already active) using:
conda activateStep 2: Check Conda Version
Ensure that Conda is installed by checking its version:
conda-- versionIf Conda is not installed, you will need to install Anaconda or Miniconda before proceeding.
Step 3: Install PyTorch
Now, install PyTorch using the following command:
conda install pytorch torchvision torchaudio -c pytorchThis will install PyTorch along with its necessary dependencies.
Step 4: Verify Installation
Once the installation is complete, confirm the installed version of PyTorch using:
conda list -f pytorchExample output:
# packages in environment
pytorch 1.12.1 py3.9_0 pytorchIf you see PyTorch listed, the installation was successful.
3. Installing PyTorch for Linux
A. Install Pytorch on Linux Using PIP
We can install PyTorch on Linux using pip, which is the default package manager for Python. Make sure to meet the prerequisites before continuing.
Prerequisites
- Glibc Version: Ensure your system has Glibc v2.17 or higher.
- Python Installed: PyTorch requires Python 3.6 or later.
- Pip Installed: The package manager pip must be installed
Now that PIP is installed, let’s explore the step-by-step procedure to install PyTorch using PIP.
Step 1: Check Python Version
First, verify that Python is installed by running:
python -VExample output:
Python 3.8.10Step 2: Check Pip Version
Ensure that pip is installed by checking its version:
pip -VExample output:
pip 21.2.4 from /usr/lib/python3/dist-packages/pip (python 3.8)Step 3: Install PyTorch (CPU Version)
To install PyTorch for CPU-only support, use the following command:
pip3 install torch torchvision torchaudio --extra-index-url https://download.pytorch.org/whl/cpuStep 4: Verify Installation
Once the installation is complete, confirm the installed version of PyTorch:
pip3 show torchExample output:
Name: torch
Version: 1.12.1Summary: Tensors and dynamic neural networks in Python with strong GPU acceleration
If you see the correct version listed, PyTorch has been successfully installed.
B. Install Pytorch using CUDA Support
For GPU acceleration using CUDA, install the corresponding CUDA version.
For CUDA 11.3, use:
pip3 install torch torchvision torchaudio --extra-index-url https://download.pytorch.org/whl/cu113For CUDA 11.6, use:
pip3 install torch torchvision torchaudio --extra-index-url https://download.pytorch.org/whl/cu116Pro Tip: If you need to remove PyTorch, simply run:
pip uninstall torchThis will uninstall the currently installed version of PyTorch from your system.
Getting Started with PyTorch on Google Colab
What is Google Colab?
Google Colaboratory (Google Colab), a tool designed for machine learning and deep learning research, offers a free online Jupyter Notebook environment. It provides an interactive coding environment that enables users to write and run Python code in the cloud without any local setup requirements.
Key Features:
- No installation is required – it works directly in your browser.
- Free GPU/TPU access – Ideal for ML & AI tasks.
- Cloud storage integration – Supports Google Drive.
- Collaborative – Share notebooks easily with others.
Getting Started with Google Colab
Follow these steps to start using Google Colab:
- Open Google Colab:
- Visit Google Colaboratory
- Visit Google Colaboratory
- Sign in:
- Log in using your Google Account.
- Log in using your Google Account.
- Create a new Jupyter Notebook:
- Click File → New notebook (Python 3).
- Click File → New notebook (Python 3).
Now, you are all set to use Google Colab!
A. Setting Up GPU in Google Colab
By default, Colab runs on a CPU. To use a GPU, follow these steps:
- Go to “Runtime” in the menu.
- Click on “Change runtime type”.
- Under “Hardware Accelerator”, select “GPU”.
- Click “Save”.
Note:
- Google Colab provides 12 hours of continuous runtime.
- If inactive for more than 1 hour, your session disconnects.
- After 12 hours, the system will reset all RAM, disk storage, and data.
B. Installing PyTorch On Google Collab
Let’s look at the step-by-step process to install PyTorch in Google Colab
Colab comes with PyTorch pre-installed, but if needed, install/update it using:
!pip install torch torchvision torchaudioTo check if PyTorch is installed correctly, run:
import torch
print(torch.__version__)
If you are using GPU, verify it with:
print(torch.cuda.is_available()) # Should return True if GPU is activeThat’s it! You’re now ready to use PyTorch on Google Colab!
Conclusion
PyTorch offers cross-platform support, with installation instructions available for Windows, macOS, and Linux. Available for installation through both pip and conda, meaning you can integrate it wherever you need it in your flow. Their PyTorch deep learning library is a popular framework that allows developers to easily create complex neural networks and train them on either local or cloud-based infrastructure.

With this guide to installation steps, you are ready to go with PyTorch with a properly configured CPU or CUDA with your configuration for Machine Learning. With PyTorch installed, you can now begin exploring the powerful features and capabilities of this deep learning framework for training models and AI research.


 Write us on:
  Business queries:
  HR:
HR: 


